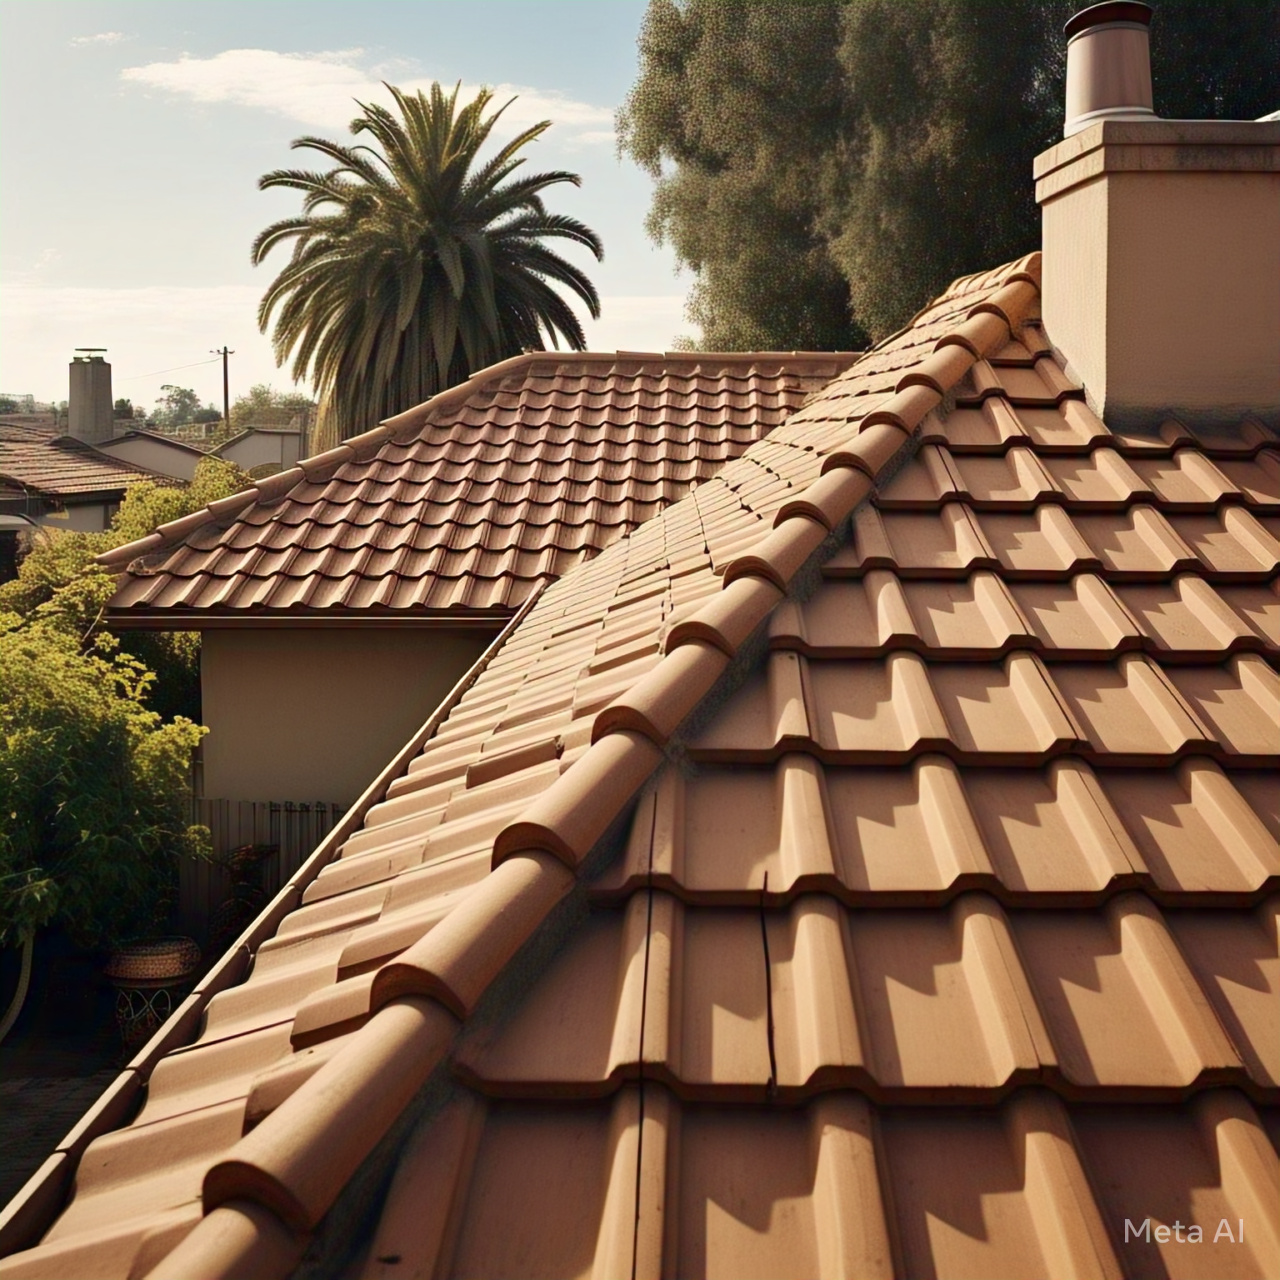
Thinking of upgrading your conservatory roof to tiles? It’s a great decision. A tiled roof transforms your conservatory into a comfortable, energy-efficient space you can use all year. But how does the process work? What should you expect?
Here’s a step-by-step guide from Point Roofing who carry out tiled conservatory roof replacements to help you understand the transformation.
1. Initial Consultation and Survey
Before any work begins, a professional will assess your conservatory.
- Structural check: Is the existing frame strong enough to support a tiled roof? Reinforcement may be needed.
- Measurement and design: Every conservatory is different, so precise measurements ensure a perfect fit.
- Planning permissions: Most tiled roof conversions don’t require planning permission, but it’s always worth checking local regulations.
2. Choosing Your Roof Type and Materials
Now it’s time to select the style and materials.
- Tile options: Lightweight tiles, slate-effect tiles, or traditional-looking tiles that match your home.
- Insulation layers: High-quality insulation ensures year-round comfort.
- Ceiling finishes: Choose from a plastered finish, timber cladding, or even spotlights for a modern look.
A good contractor will walk you through the choices to find the best fit for your home.
3. Removing the Old Roof
Once everything is planned, the old roof comes off.
- Careful dismantling: The glass or polycarbonate panels are removed piece by piece.
- Minimal disruption: Most professional teams remove the old roof in a matter of hours.
- Recycling and disposal: Responsible contractors will dispose of old materials properly or recycle where possible.
4. Reinforcing the Existing Structure
A tiled roof is heavier than a polycarbonate one. Your conservatory frame may need reinforcement.
- Strengthening the framework ensures it can support the extra weight.
- Checking for wear and tear—any existing damage is repaired before the new roof is installed.
This step is crucial for long-term durability and safety.
5. Installing the New Roof Framework
With the old roof gone and the frame reinforced, it’s time to install the new structure.
- Lightweight timber or aluminium frame is fitted securely to distribute weight evenly.
- Breathable membranes are added to prevent condensation build-up.
- Insulation layers are installed to improve thermal efficiency.
This stage sets the foundation for a long-lasting, energy-efficient roof.
6. Fitting the Tiles and External Finishes
Now the roof starts to take shape.
- Tiles are laid in sections, ensuring a snug, weatherproof fit.
- Ridge and edge tiles are secured for extra protection against wind and rain.
- Guttering and drainage are checked or upgraded if needed.
At this point, the exterior looks complete, but there’s still work to do inside.
7. Interior Ceiling Finishing
The inside of your conservatory is just as important as the outside.
- Plasterboard or timber cladding is fitted to create a smooth ceiling finish.
- Spotlights or LED lighting can be installed for a modern touch.
- Ventilation options ensure proper airflow to prevent dampness.
This step transforms the conservatory into a polished, welcoming space.
8. Final Checks and Quality Assurance
Before handing the space back to you, the installation team will complete final inspections.
- Weatherproofing checks ensure there are no leaks or weak points.
- Structural stability assessment guarantees long-term durability.
- Customer walkthrough lets you see the transformation and ask any questions.
How Long Does It Take?
Most tiled conservatory roof conversions take 3 to 5 days from start to finish, depending on the size and complexity of the project.
What’s Next?
Once your new roof is in place, you can start enjoying your transformed space.
- Use it as a dining area, home office, or cosy lounge.
- Enjoy lower energy bills thanks to improved insulation.
- Appreciate the quieter, more peaceful environment.
Are you ready to turn your conservatory into a room you’ll love all year round?


